Before you begin
What you’ll need
- Members visible in the workspace
- Permission to manage members and sensitive member data
- A recent secure identity check
01
Add a member
A full name is the only contact field required to create a member profile. Member number, email, phone, address, and notes can be added later.
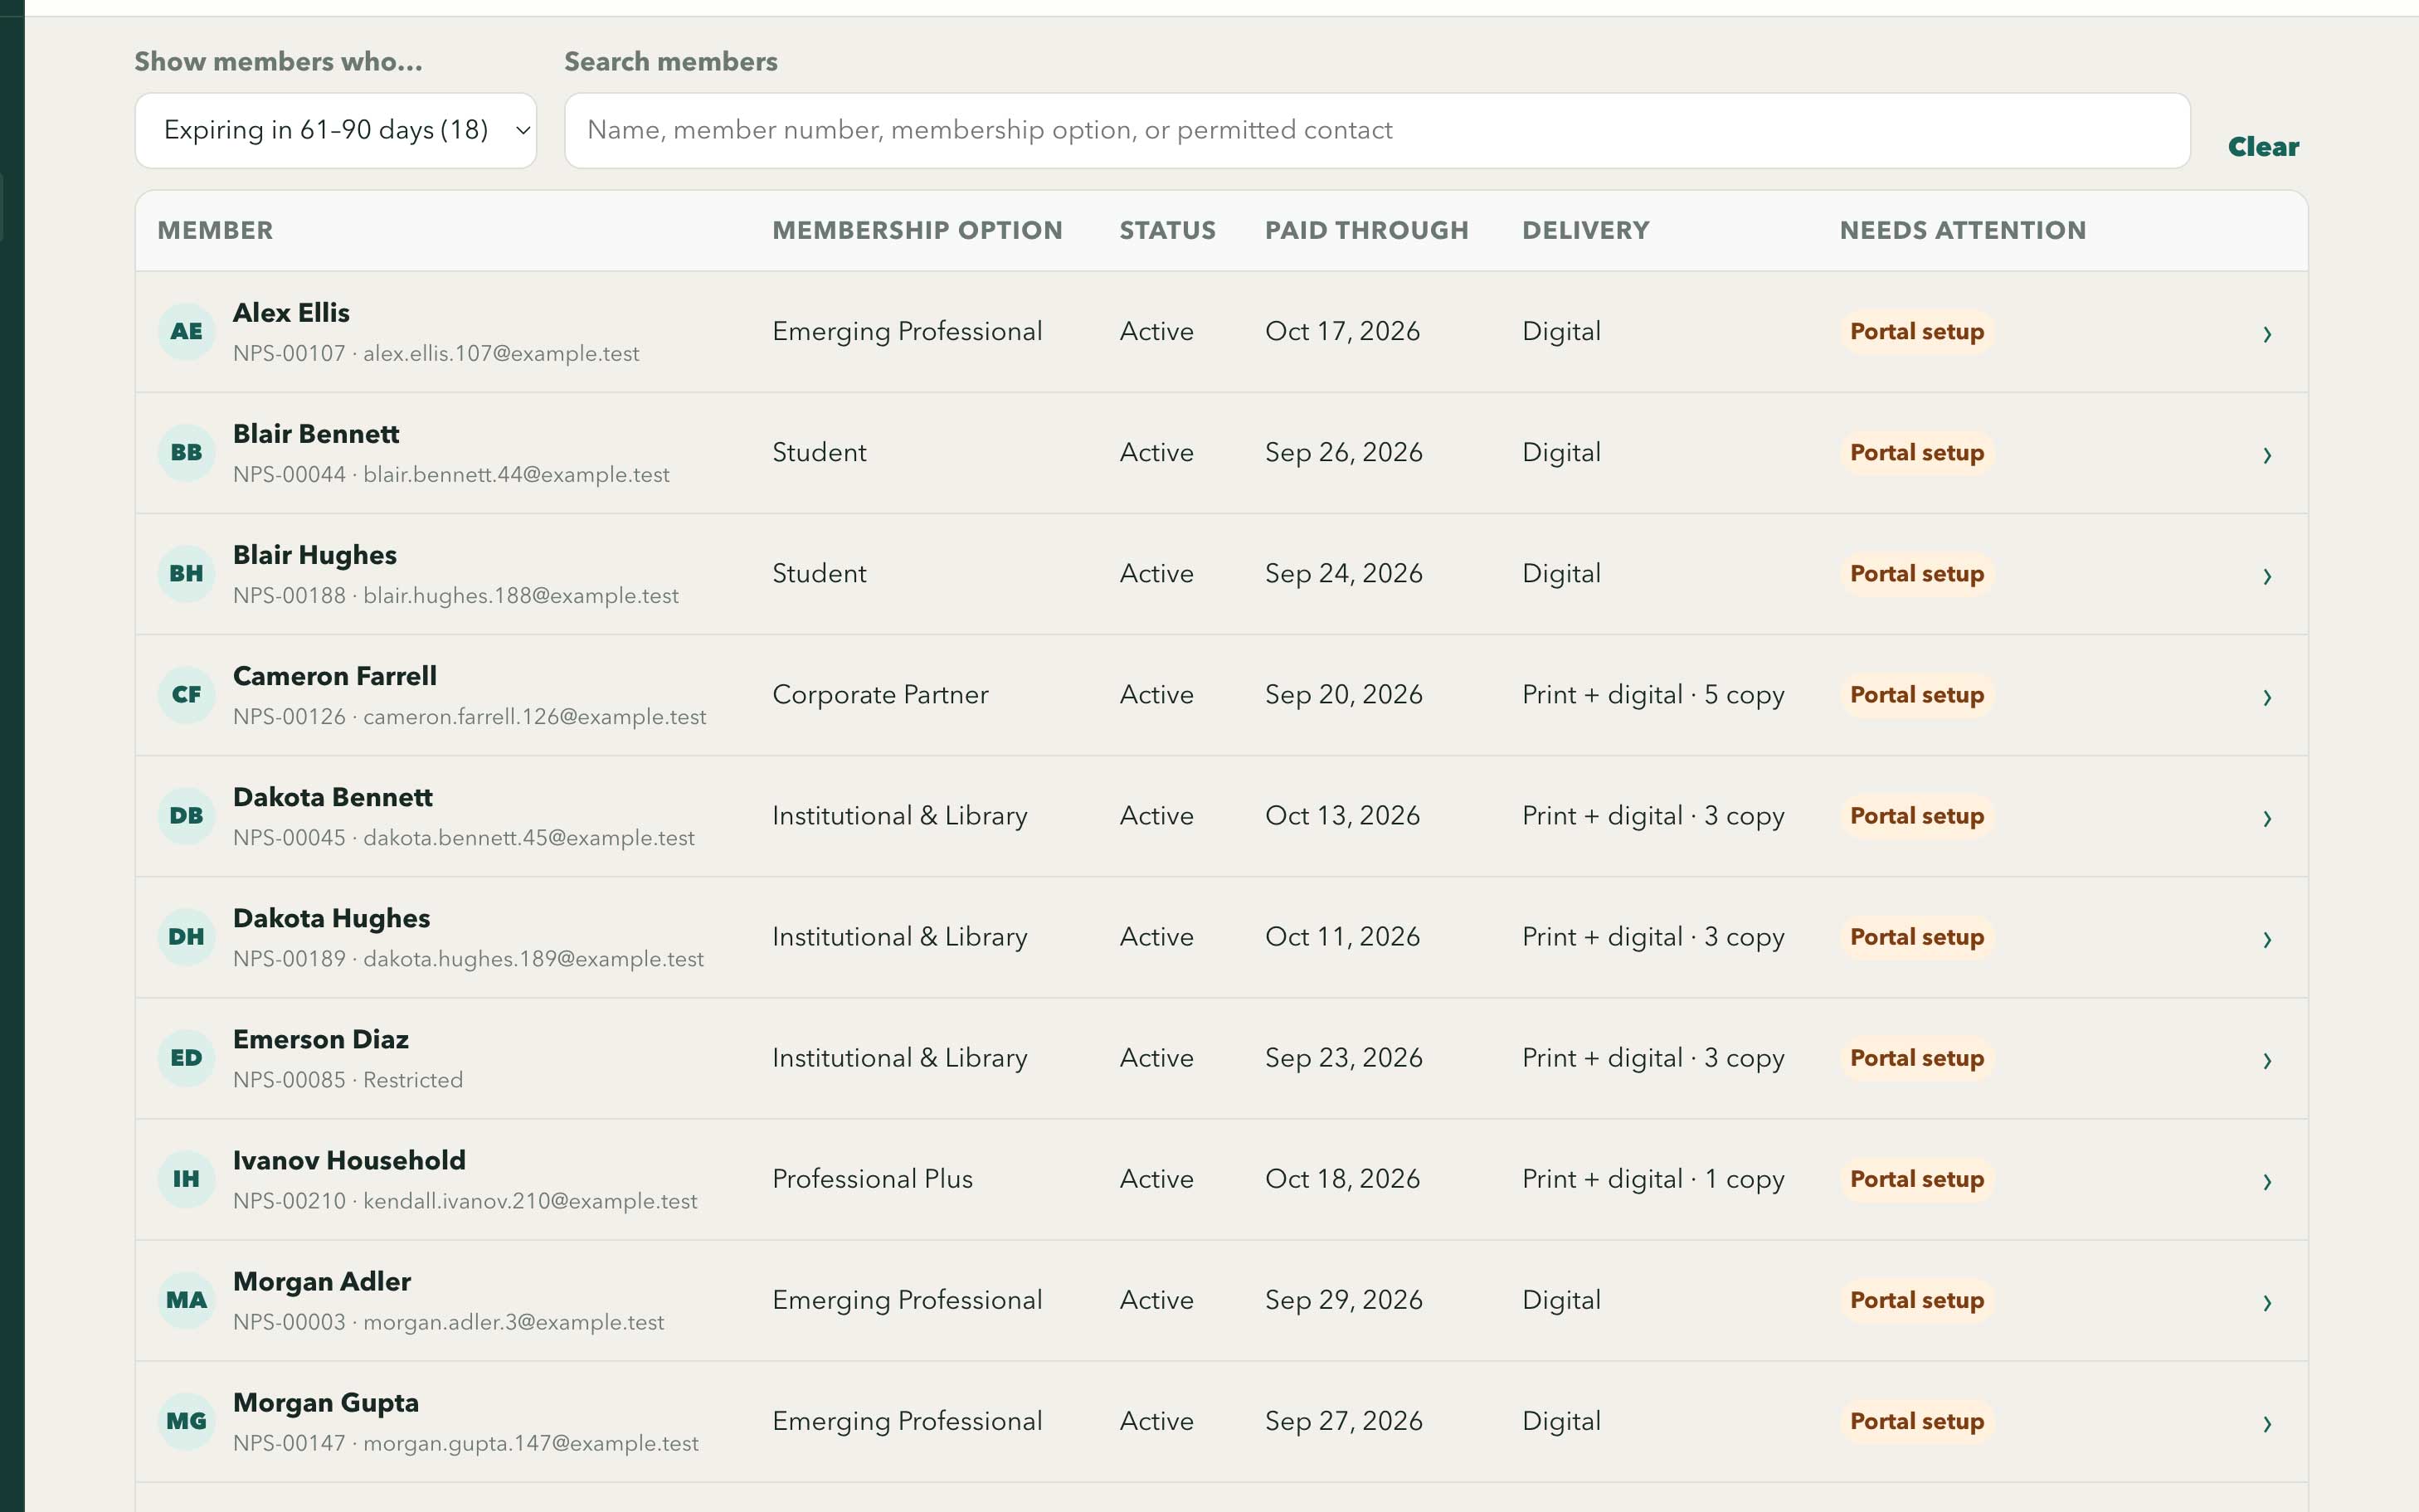
Filters and representative member rows show the context staff use before opening or adding a profile.
Swipe or use arrow keys to inspect the full view- Open Members and select Add member.
- Enter the member's full name. Enter a member number or leave it blank when the organization assigns numbers automatically.
- Add any available email, phone, member-since date, and mailing address.
- Choose digital, print, or combined delivery and confirm the print quantity when applicable.
- Add an internal note only when authorized staff genuinely need the context, then create the member profile.
02
Represent the real member
Do not create placeholder email addresses or force every relationship into an individual login.
- People may have no email, a changed email, or an email shared with a household.
- Libraries, institutions, and households may need a named contact while remaining distinct member entities.
- An administrator account is separate from a member profile; staff do not have to be members.
- One verified account may be linked to more than one organization membership after explicit review.
03
Update contact and delivery details
Open a member profile and use Overview when contact information or delivery preferences change.
- Confirm you have the correct member by checking the member number and organization.
- Replace outdated email, phone, or mailing information; leave a field empty when no verified value is available.
- Update digital or print delivery preferences and print quantity.
- Save the profile, then open Publications if the change affects a mailing list already being prepared.
04
Set up member portal access
Portal setup links a verified login to an existing member profile only after the member confirms the correct organization membership.
- Open Members, choose the member, and select Portal & privacy.
- Add and save a usable primary email on the member profile if one is missing.
- Review the destination email and current portal access status, then send the secure setup email.
- The member signs in, reviews the matching membership, and confirms the link.
- Refresh the status and confirm that the member can see the expected benefits and access.
05
Archive instead of deleting history
Member profiles can participate in payment, membership, publication, and access history. Archiving preserves that history while removing the profile from active work.
- Review active membership periods and recurring payments before archiving.
- Use corrections, adjustments, or reversals for financial mistakes rather than editing history in place.
- Use the appropriate lifecycle or privacy workflow when the reason is cancellation, death, duplicate resolution, or a data request.